
How to plant a bulb tray • Styling the Seasons March
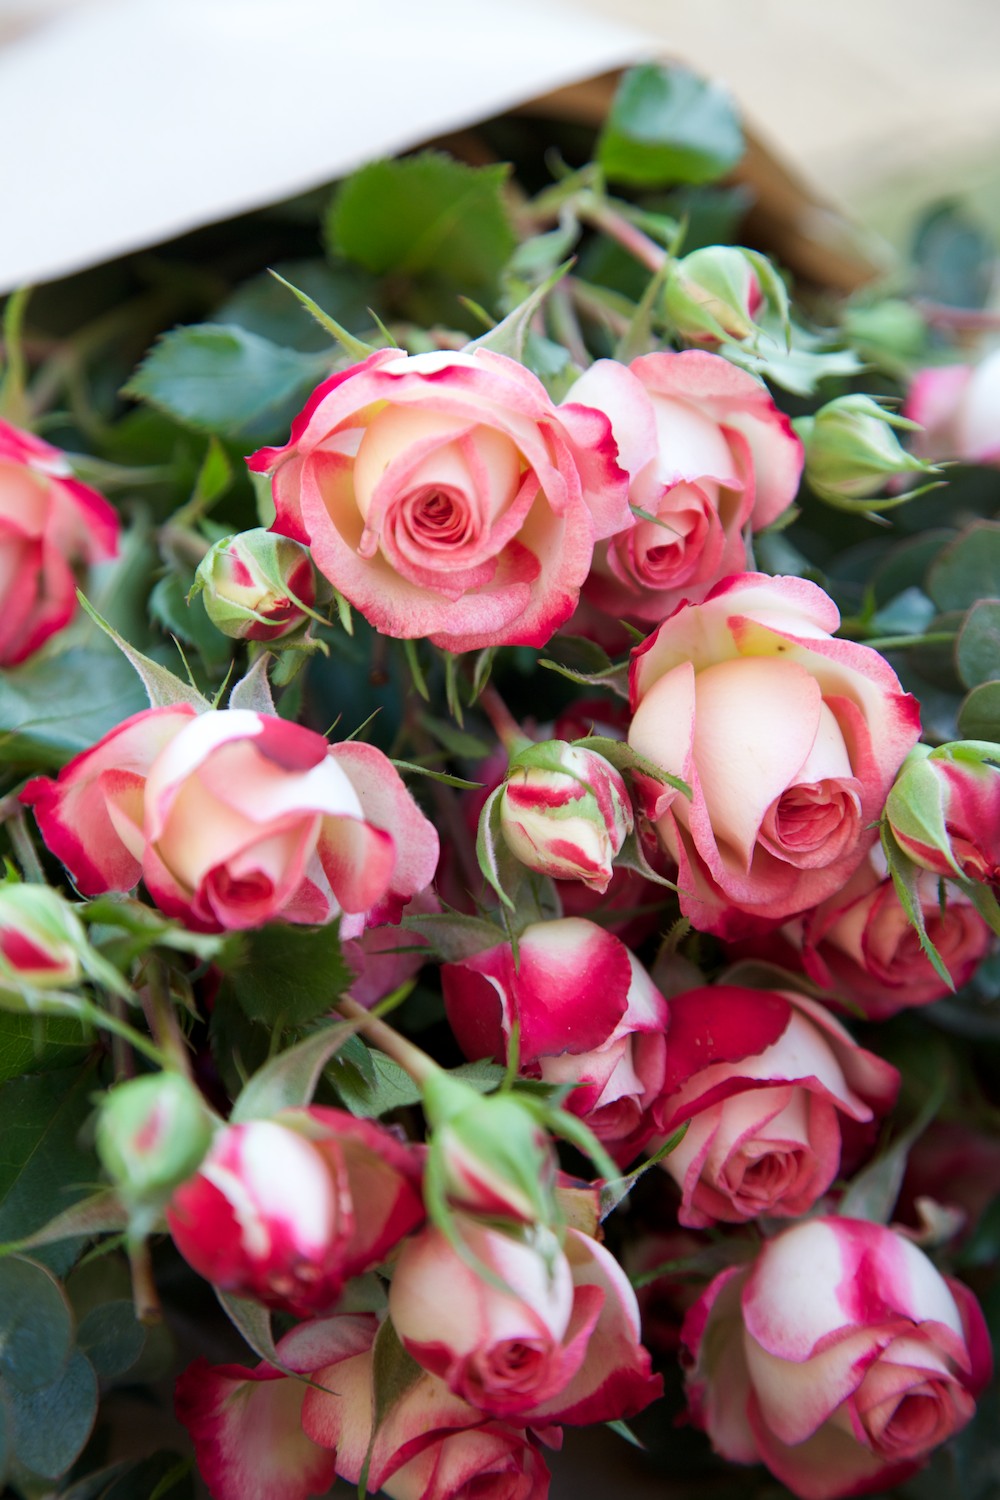
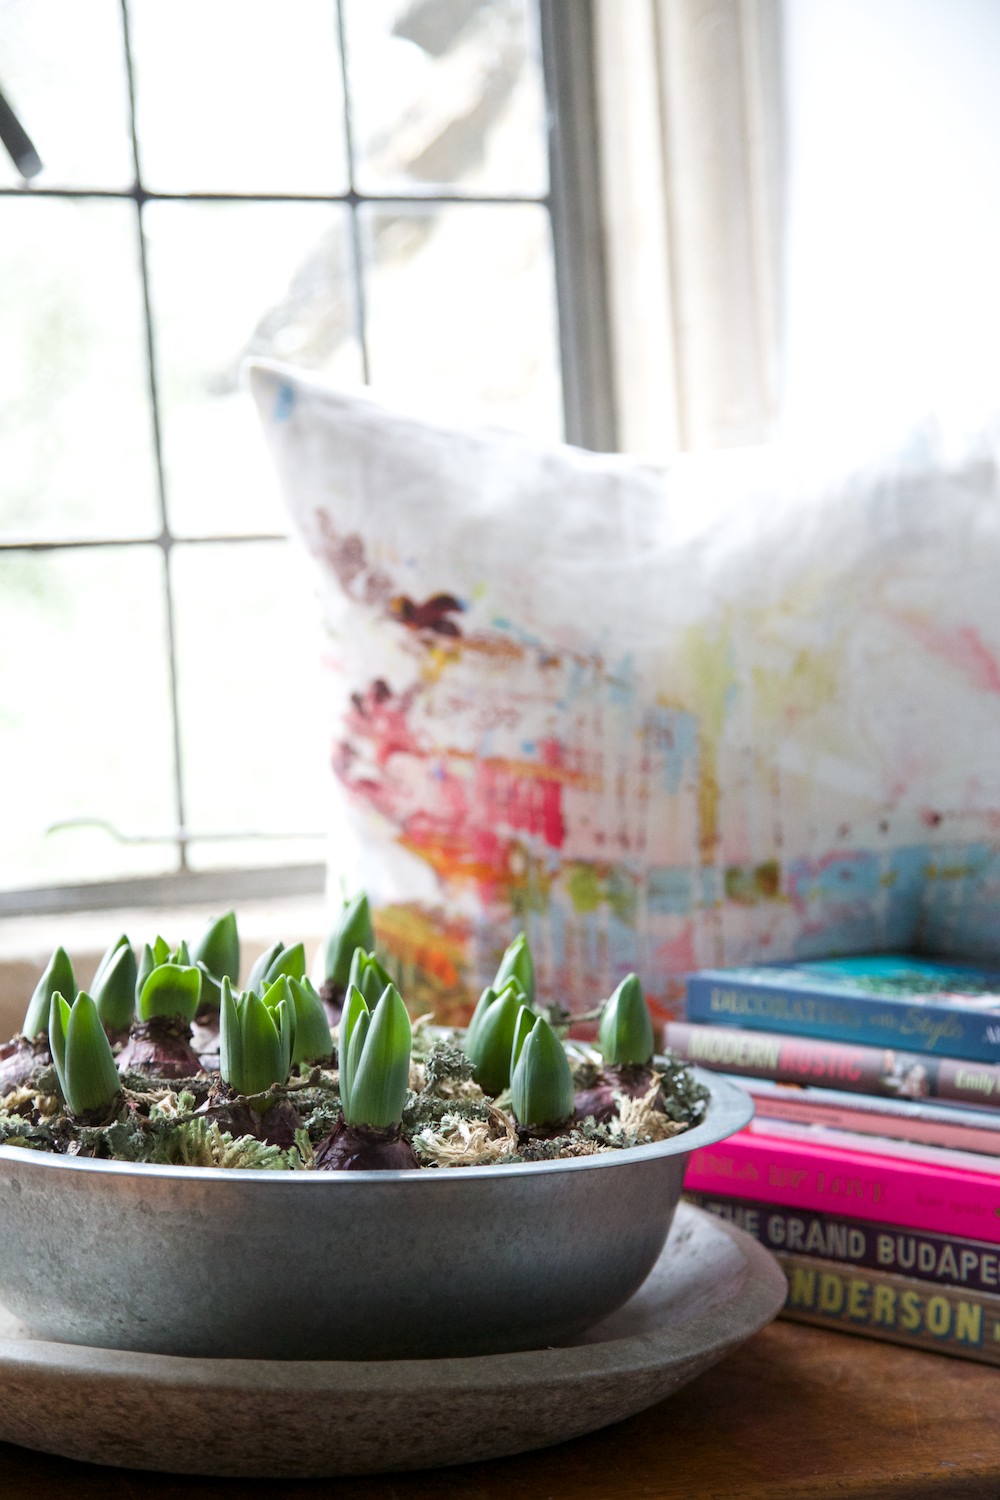
I love pots of bulbs around the house at this time of year. Window ledges, fireplaces and the coffee table covered with terracotta pots lined up in little rows. I picked up a wonderful antique galvanised bowl filled with Naricissus bulbs from one of my favourite local florists Sprout and Flower, and as the miniature daffodils started to fade I wanted to replant it with more colour, to bring Spring back into the lounge.
They have the most beautiful and unusual selection of flowers. Blossom, wild flowers, all my favourites that you can't find in a supermarket. A trip to Sarah's sweet shop is like the best pic and mix you could ever imagine and every time I head back to the car giddy over the goodies wrapped in brown paper and tied with raffia.

A bulb planter is the easiest thing to make and it's so satisfying seeing them grow a little more each day. It brings nature into your home decor and is such a lovely activity to do with your children.
You will need:
- Container - bowl/pot/tray
- Bark chippings/gravel
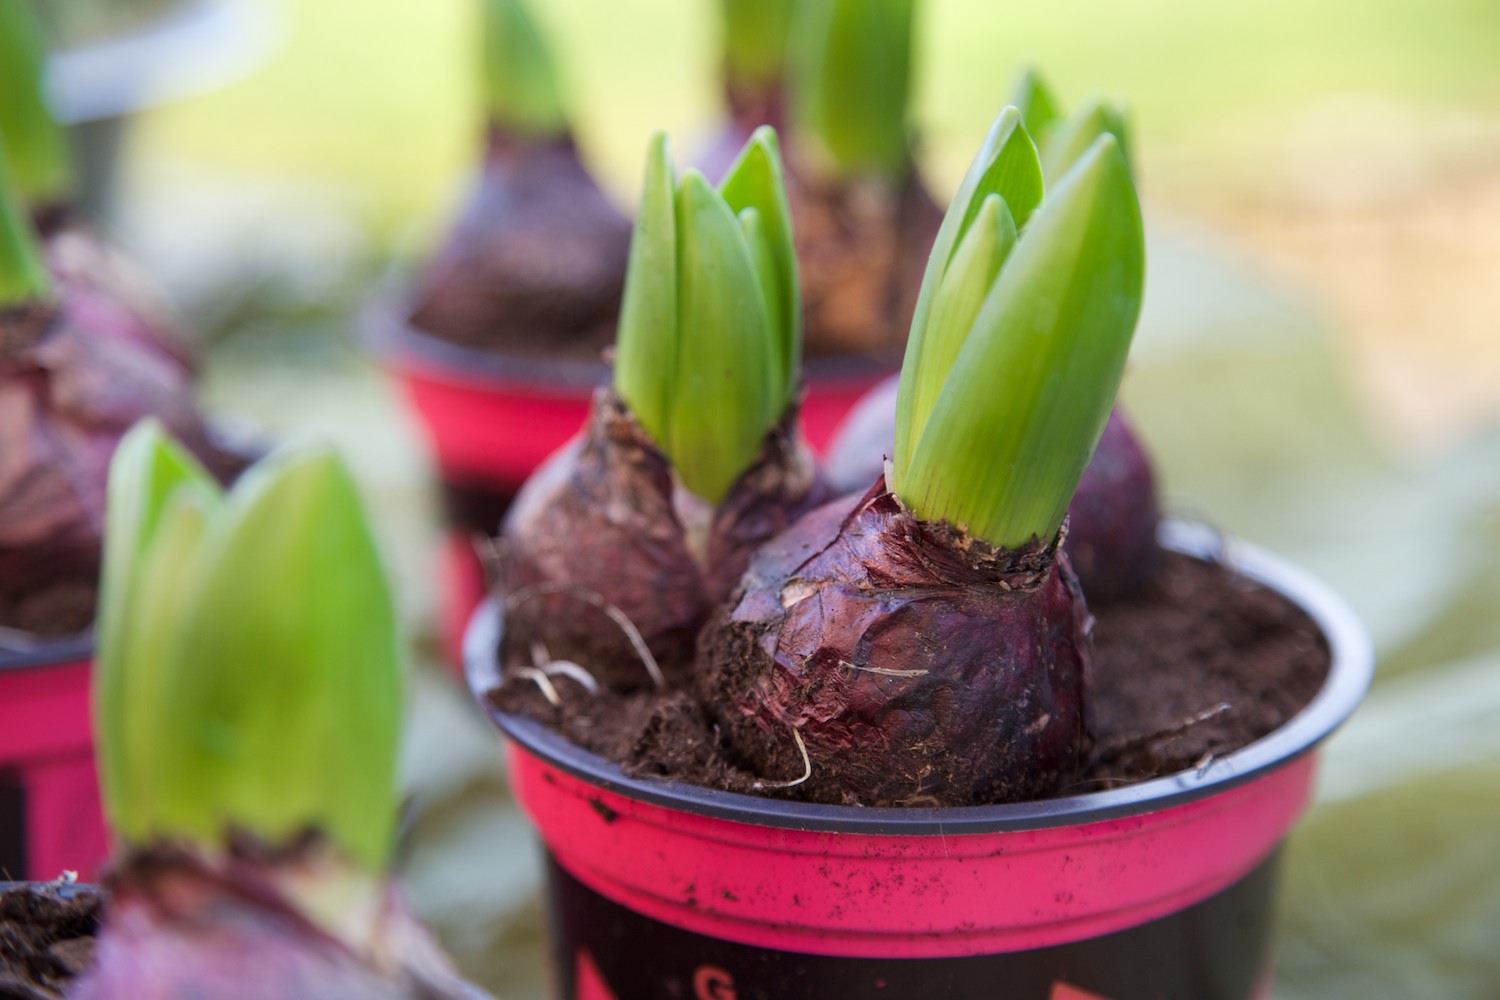
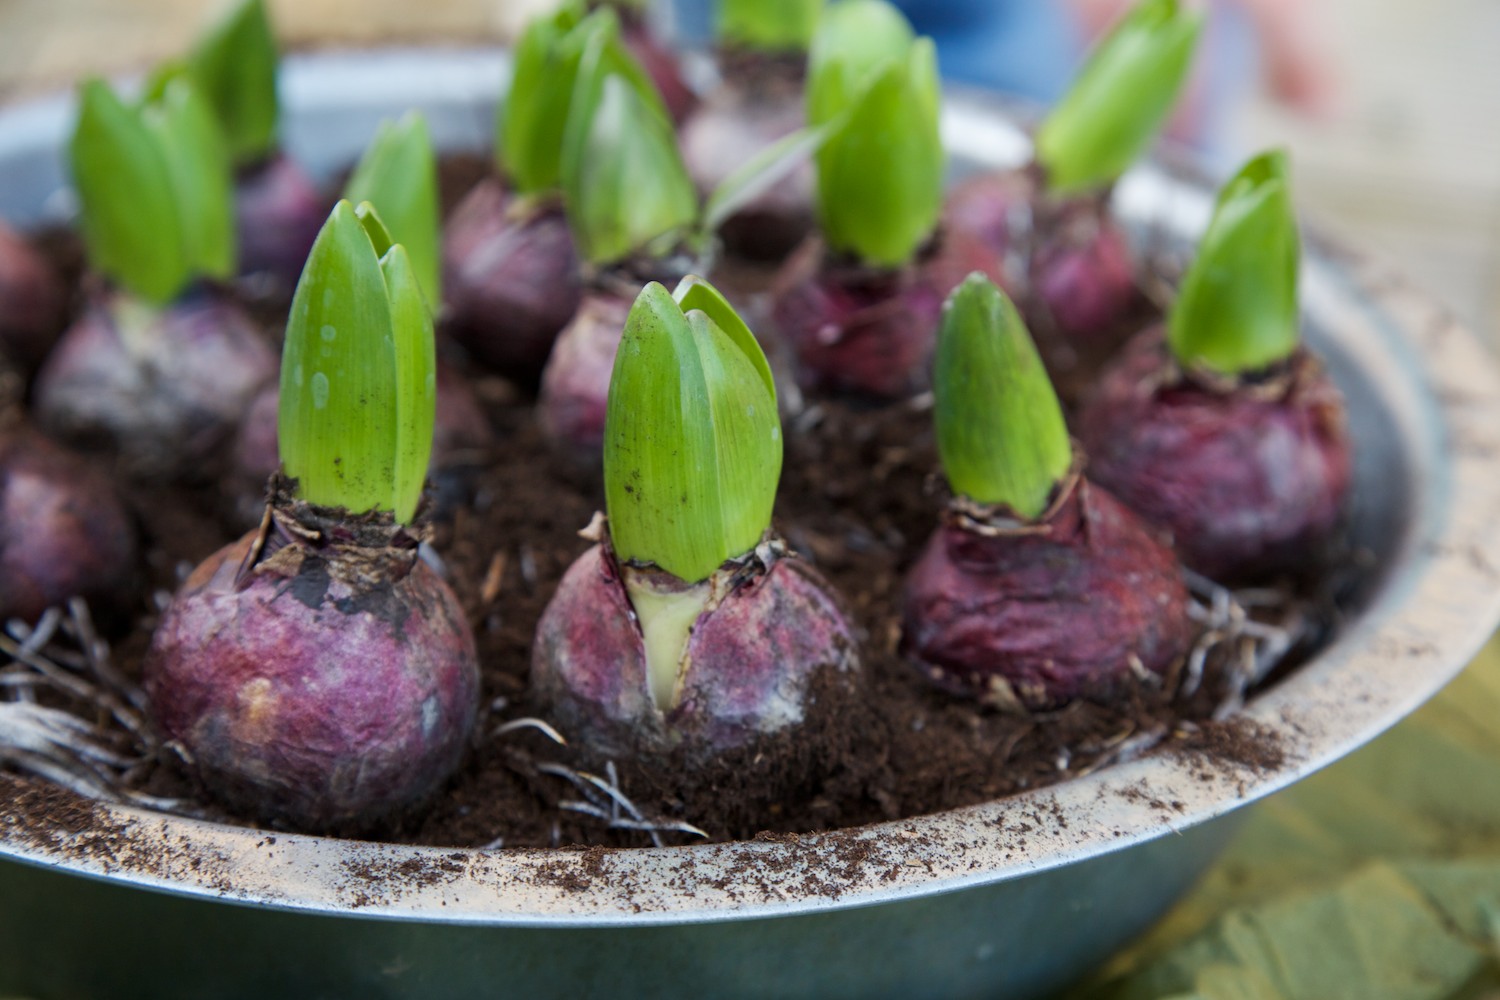
- Bulbs of your choice (I used a mix of 15 blue and pink Hyacinth bulbs to cover a 15 inch bowl)
- Moss/twigs for decoration
- Water spray
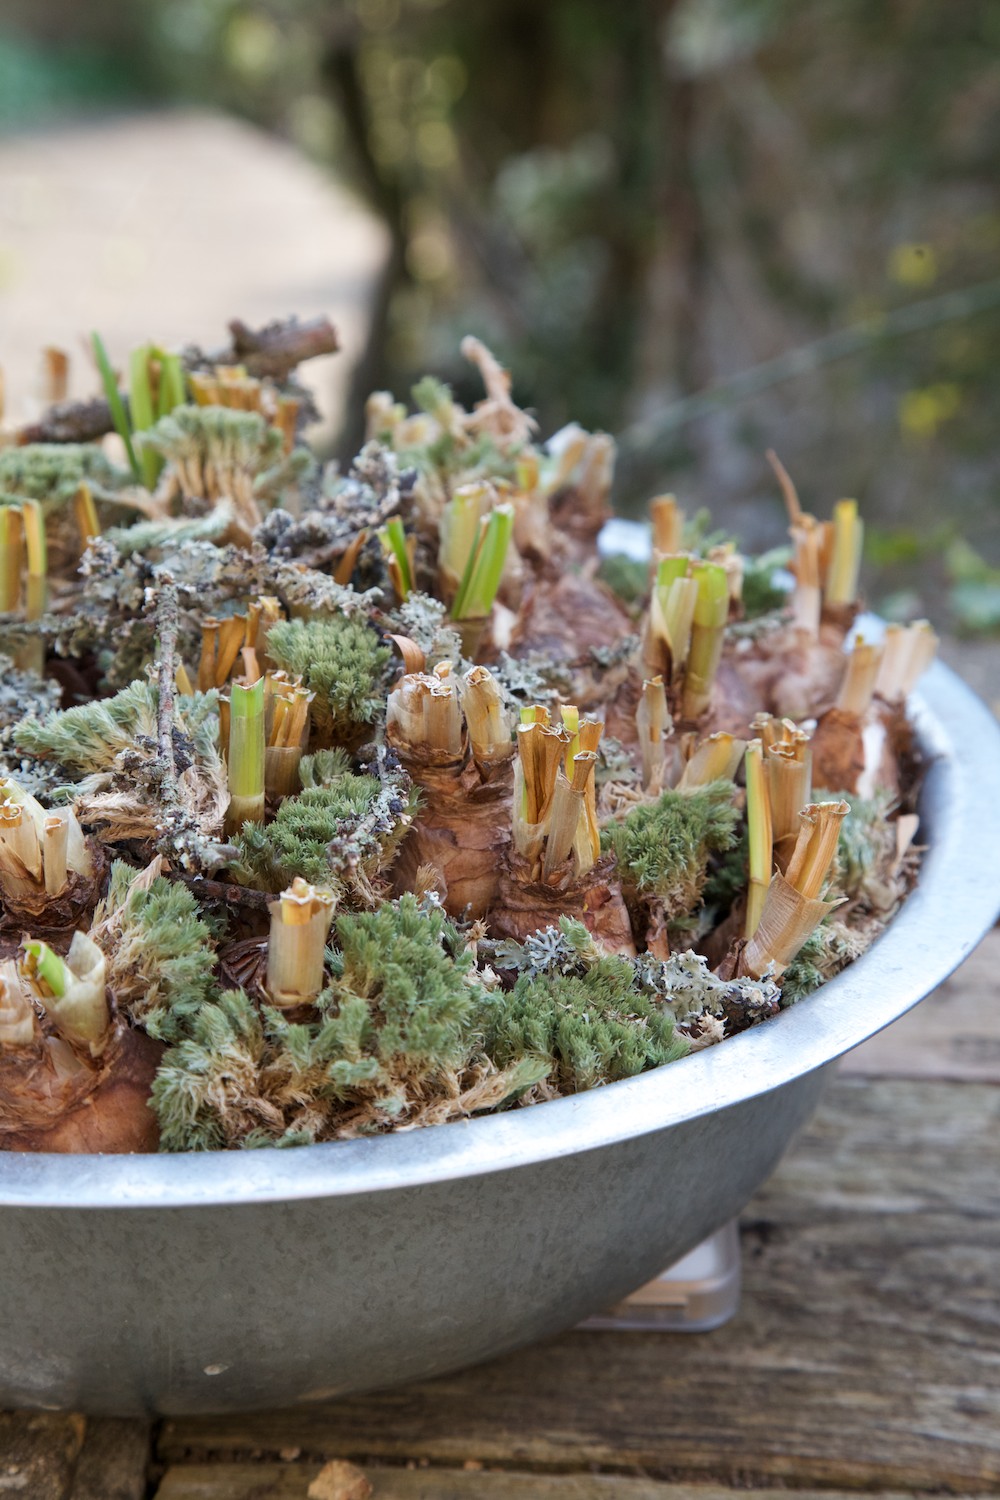

I emptied the pot of the old bulbs and put them in the garden shed to save and plant in the garden for next year.
Line your container with a half an inch layer of bark chippings or gravel. This will allow any water to slowly penetrate through the roots.

Take your bulbs and carefully tease them apart gently, trying not to damage the roots.
You want to give them some room to grow and spread the soil around your container.

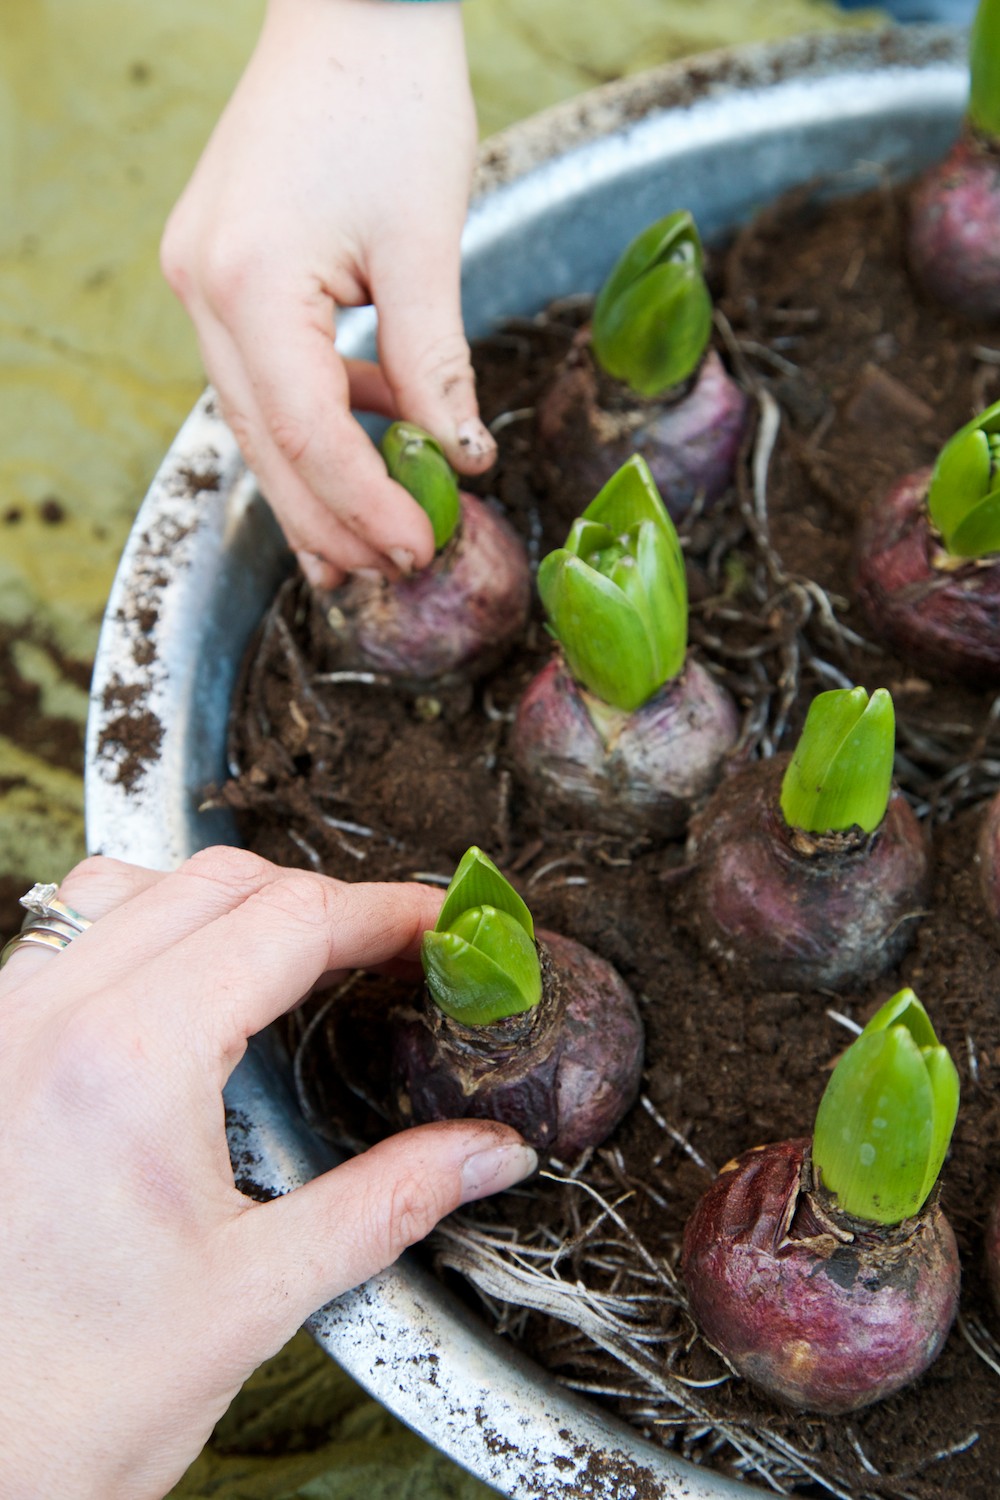
Place your bulbs in your container, with the roots submerged under a thin layer of soil. I like the element of surprise so Sammy and I decided not to be too prescriptive about the order of the colours of the bulbs. If you'd prefer a more organised planter, arrange in colours or a pattern of colours. If you need to, add a little extra compost to cover your roots.
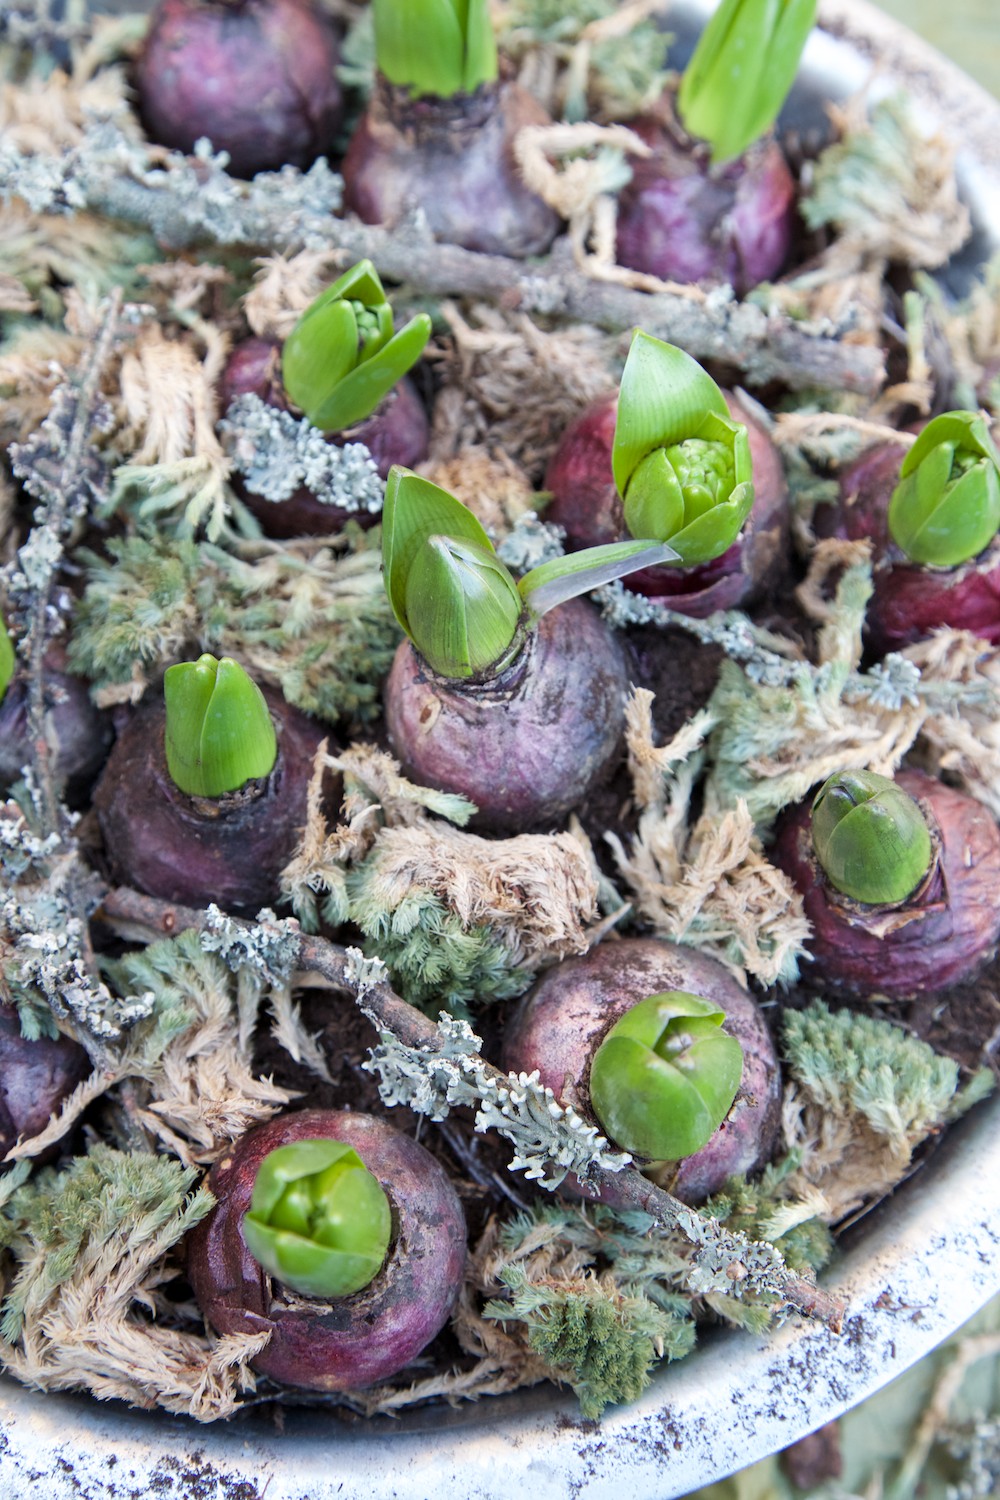
Add your moss, tear it into clumps and place in between your bulbs. I added the old twigs and collected a few more from the garden.
Spray with water. I used an atomiser spray from a weekend travel beauty kit so as not to soak the earth. I spritz the bulbs a couple of times a week and a week later, I can see the tops of the Hyacinth heads just starting to bloom.
It's best to keep your planter in a nice room temperature, cooler spot, rather than in complete direct sunlight all day. Remember to spin the container around so all the bulbs get the chance to grow evenly.
I love seeing all the photos and posts linking up with Apartment Apothecary and Lotts and Lots, seeing how everyone is bringing Spring time into their homes.

I wonder what goodies Sprout and Flower will have this week...!
P.s. I am in love with a new polarising filter for my Canon DSLR that I was sent from Wex Photographic. All the photos in this post are straight from the camera card. NO tweaking, no sharpening, nothing! I will post a full review of the filter but just had to sneak in how amazing it is to the quality of the capture! How did I live without it?!