How to Clean Make Up Brushes in 5 minutes #MummyMakeUp

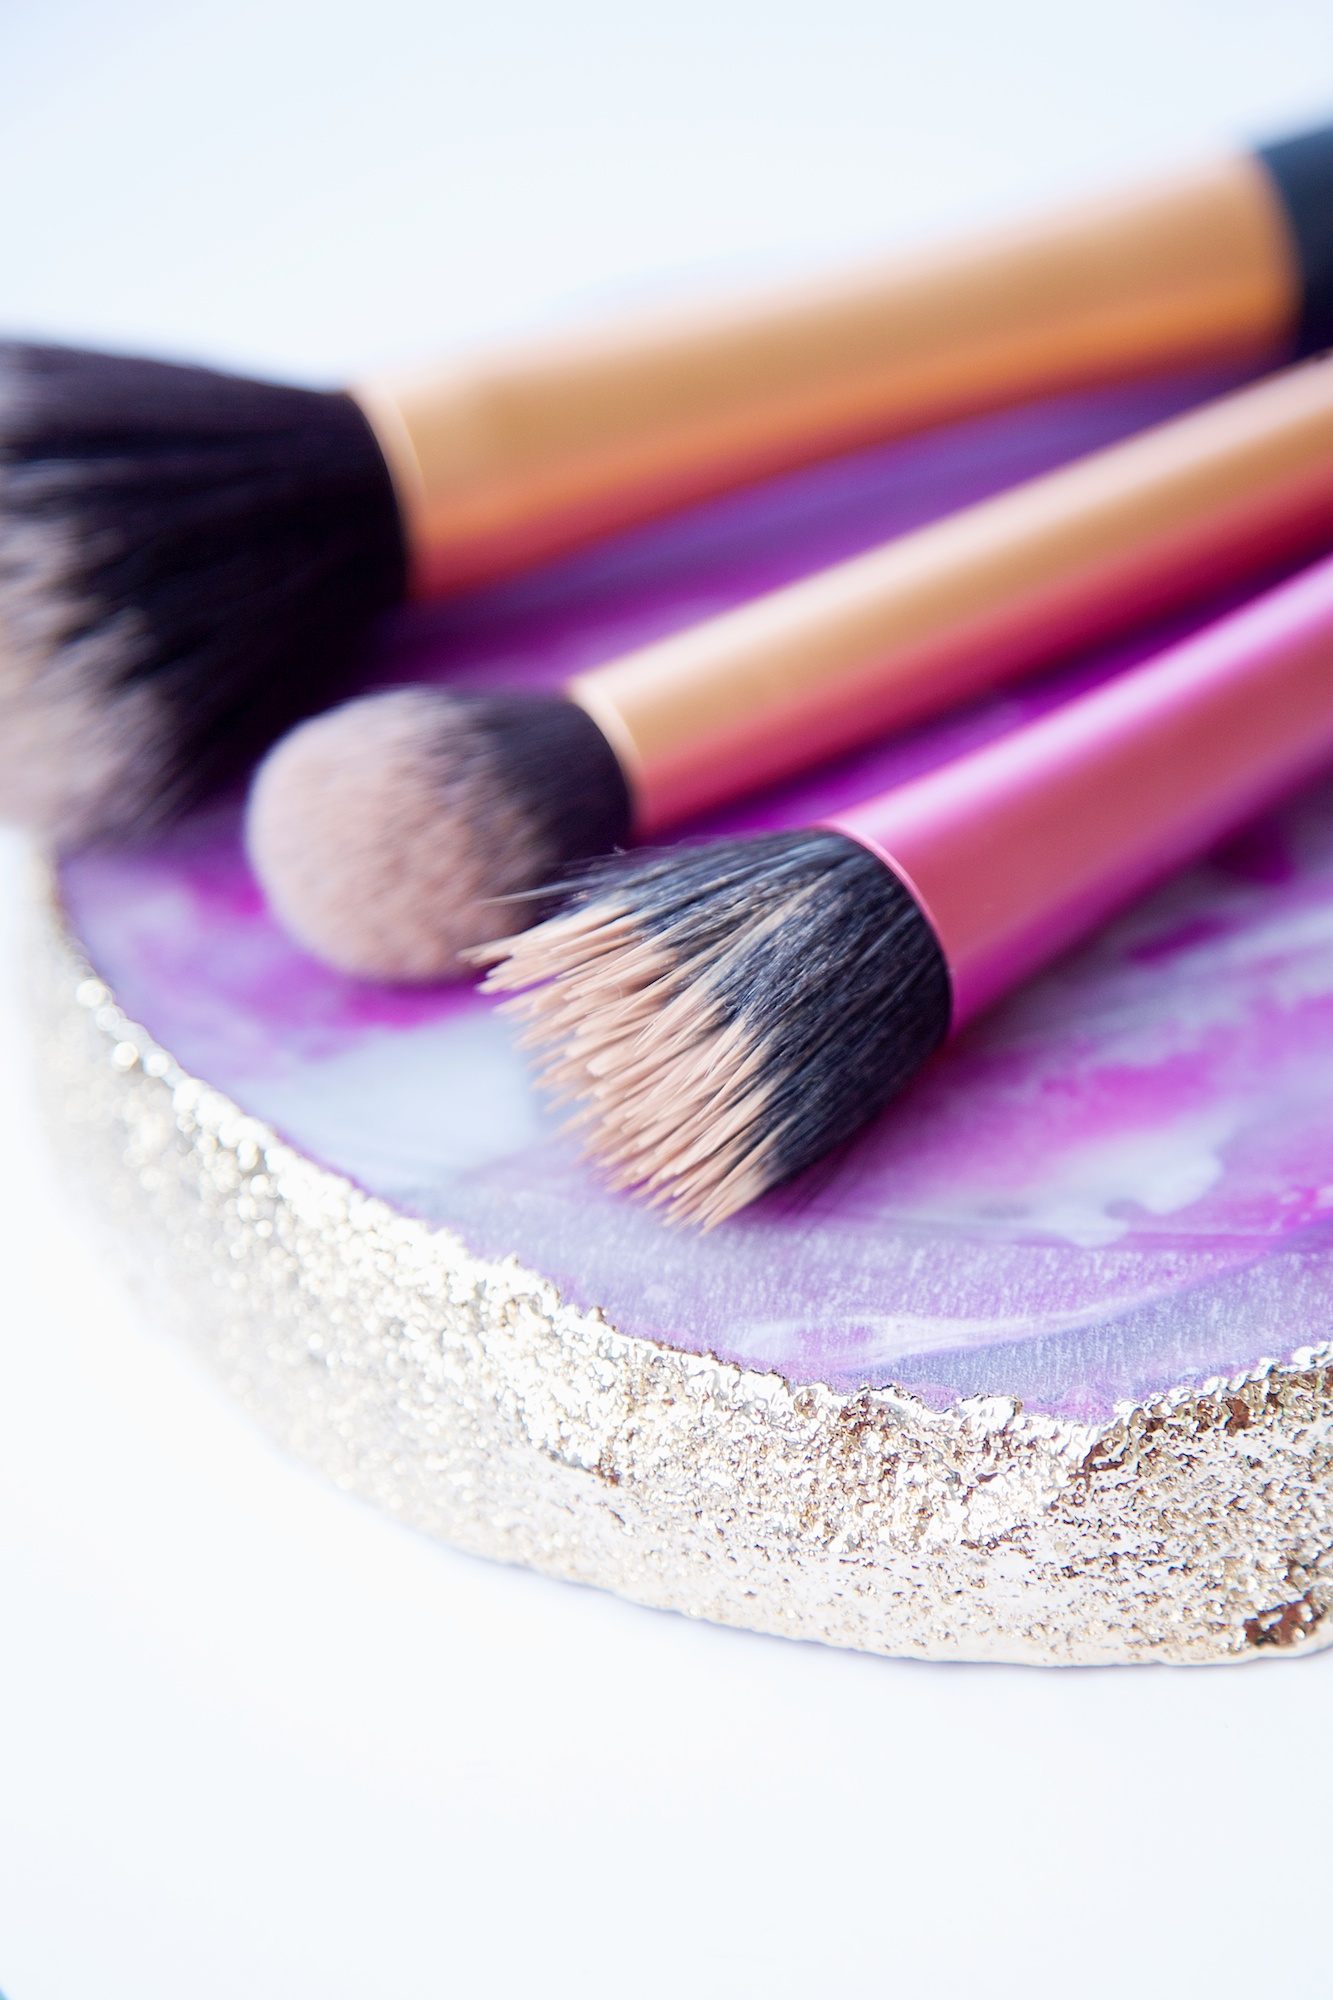
Spring has sprung this week and it's high time I cleaned my make up brushes.

I am ashamed to say that whilst I try to resist slapping on make up with my fingers and use a selection of brushes, I couldn't tell you when I have cleaned them.

Disgusting. Sloshing around in the bottom of a wash bag is doing nothing for my skin when I reapply my make up each morning.

So for the first in a collaboration series #MummyMakeUp with my sister, (who is my beauty expert) here is how to properly and quickly clean your make up brushes.

How to clean make up brushes

This is the simplest and most effective way to clean your brushes as a busy Mummy. Just raid the edge of the bath.

How to clean make up brushes

Step 1 • Run your brush under a luke warm tap and place a blob of baby shampoo in your hand the size of a 50p piece.

How to clean make up brushes

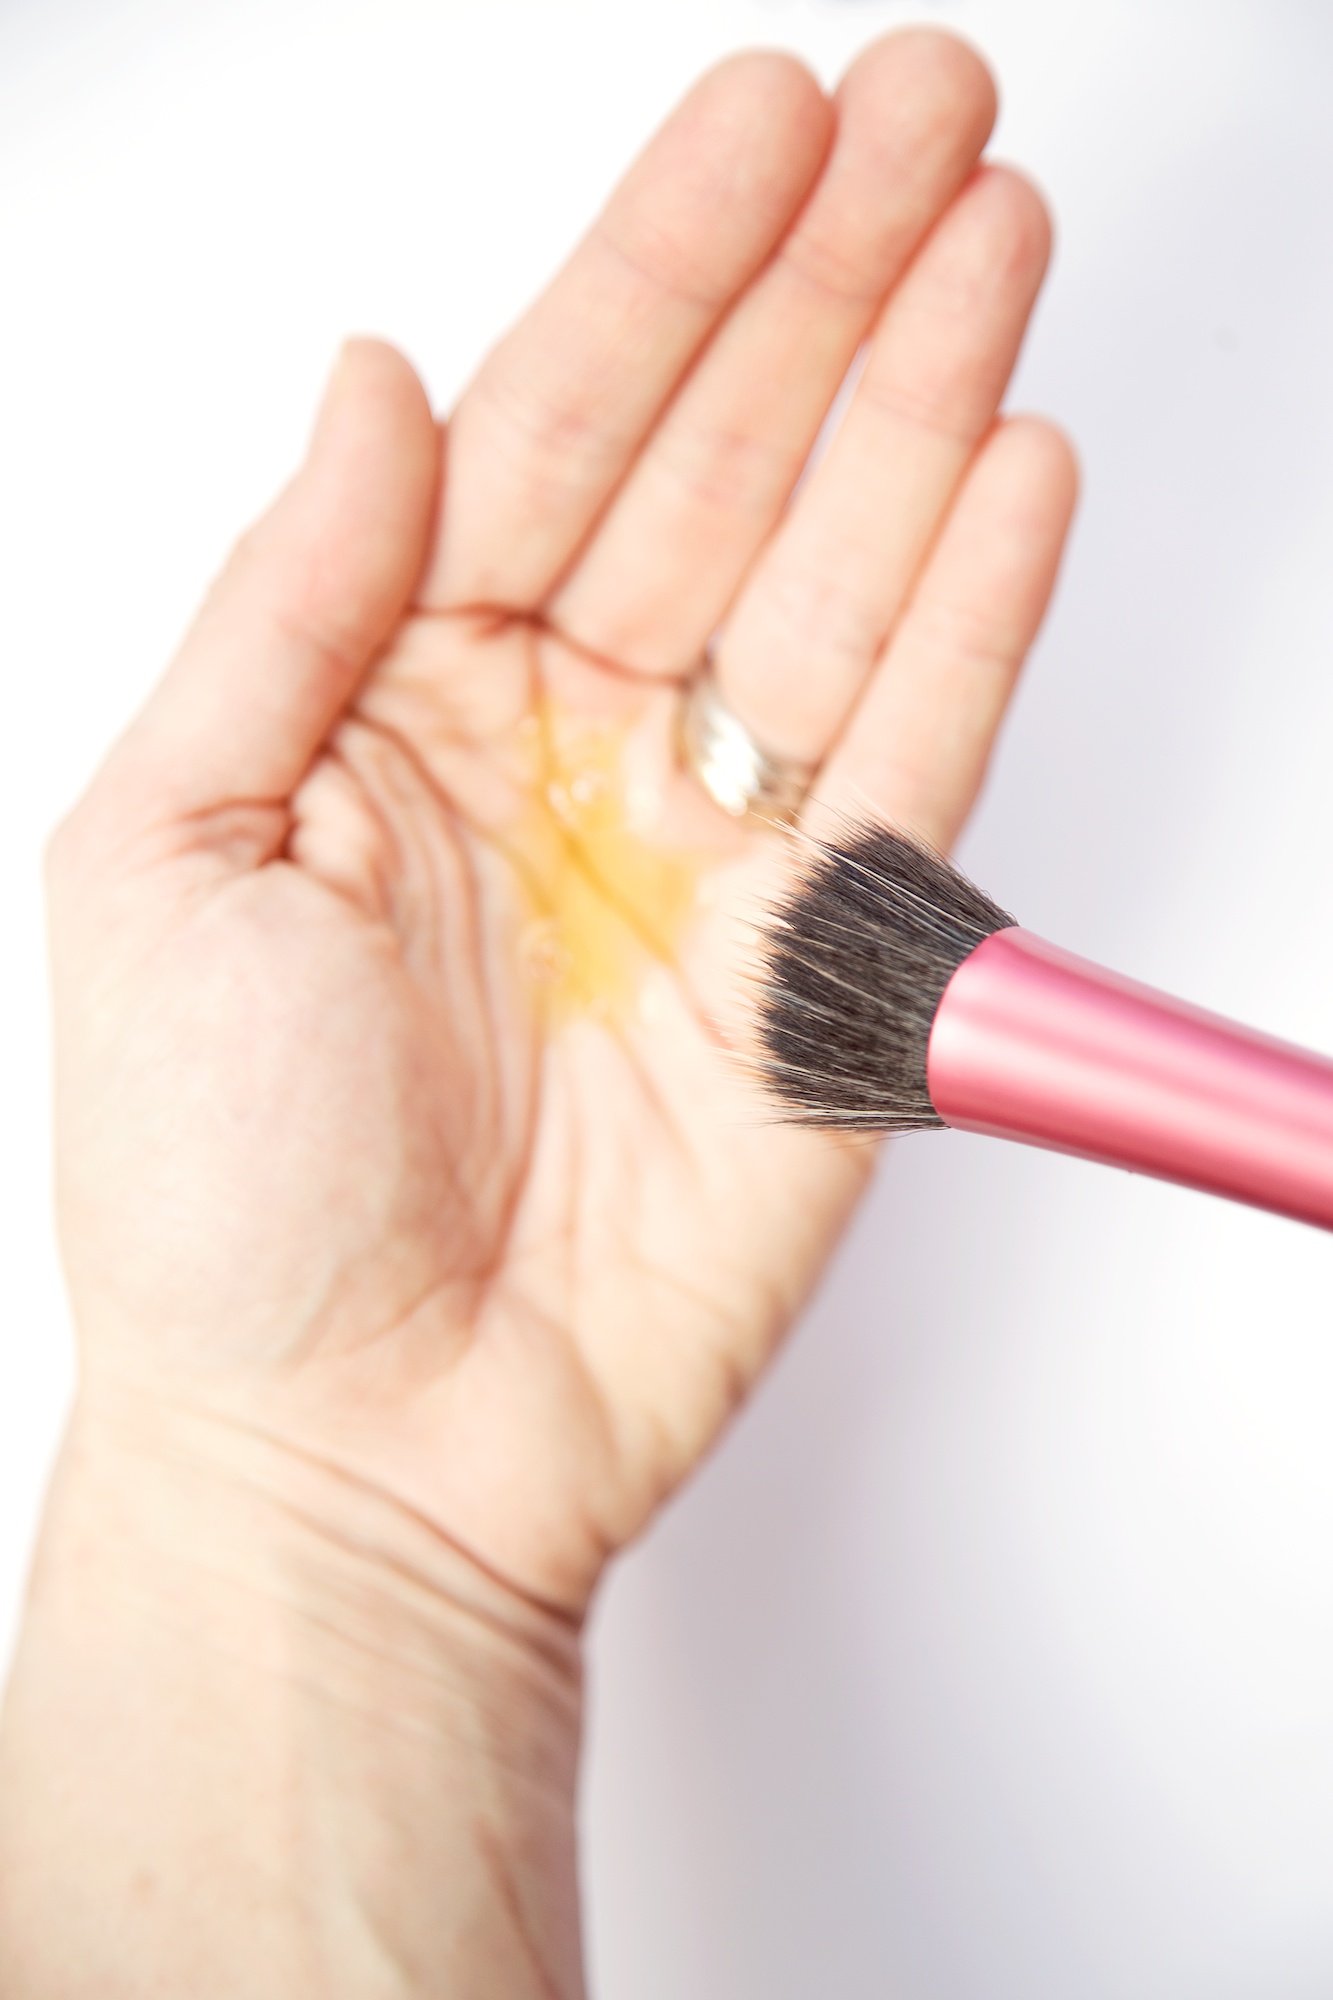
Step 2 • Swirl the brush head around the palm of your hand in circular motions, so as not to disturb the brush hairs.

Rinse and repeat until the water in the palm of your hand is clear.

I used a shallow dish to show the muck coming out of my foundation brush. Yuck.

How to clean make up brushes

With flat or angled brushes stroke the brush forwards and backwards in your palm, rather than swirling it. 

How to clean make up brushes

Step 3 • Dab your clean brush onto kitchen paper, to remove any excess water. You can also see if you have completely cleaned your brush, as the paper should not have any make up residue left on it.

How to clean make up brushes

Step 4 • Re shape. Use your fingers to gently manipulate your brush back into it's original shape before drying.

How to re shape make up brushes

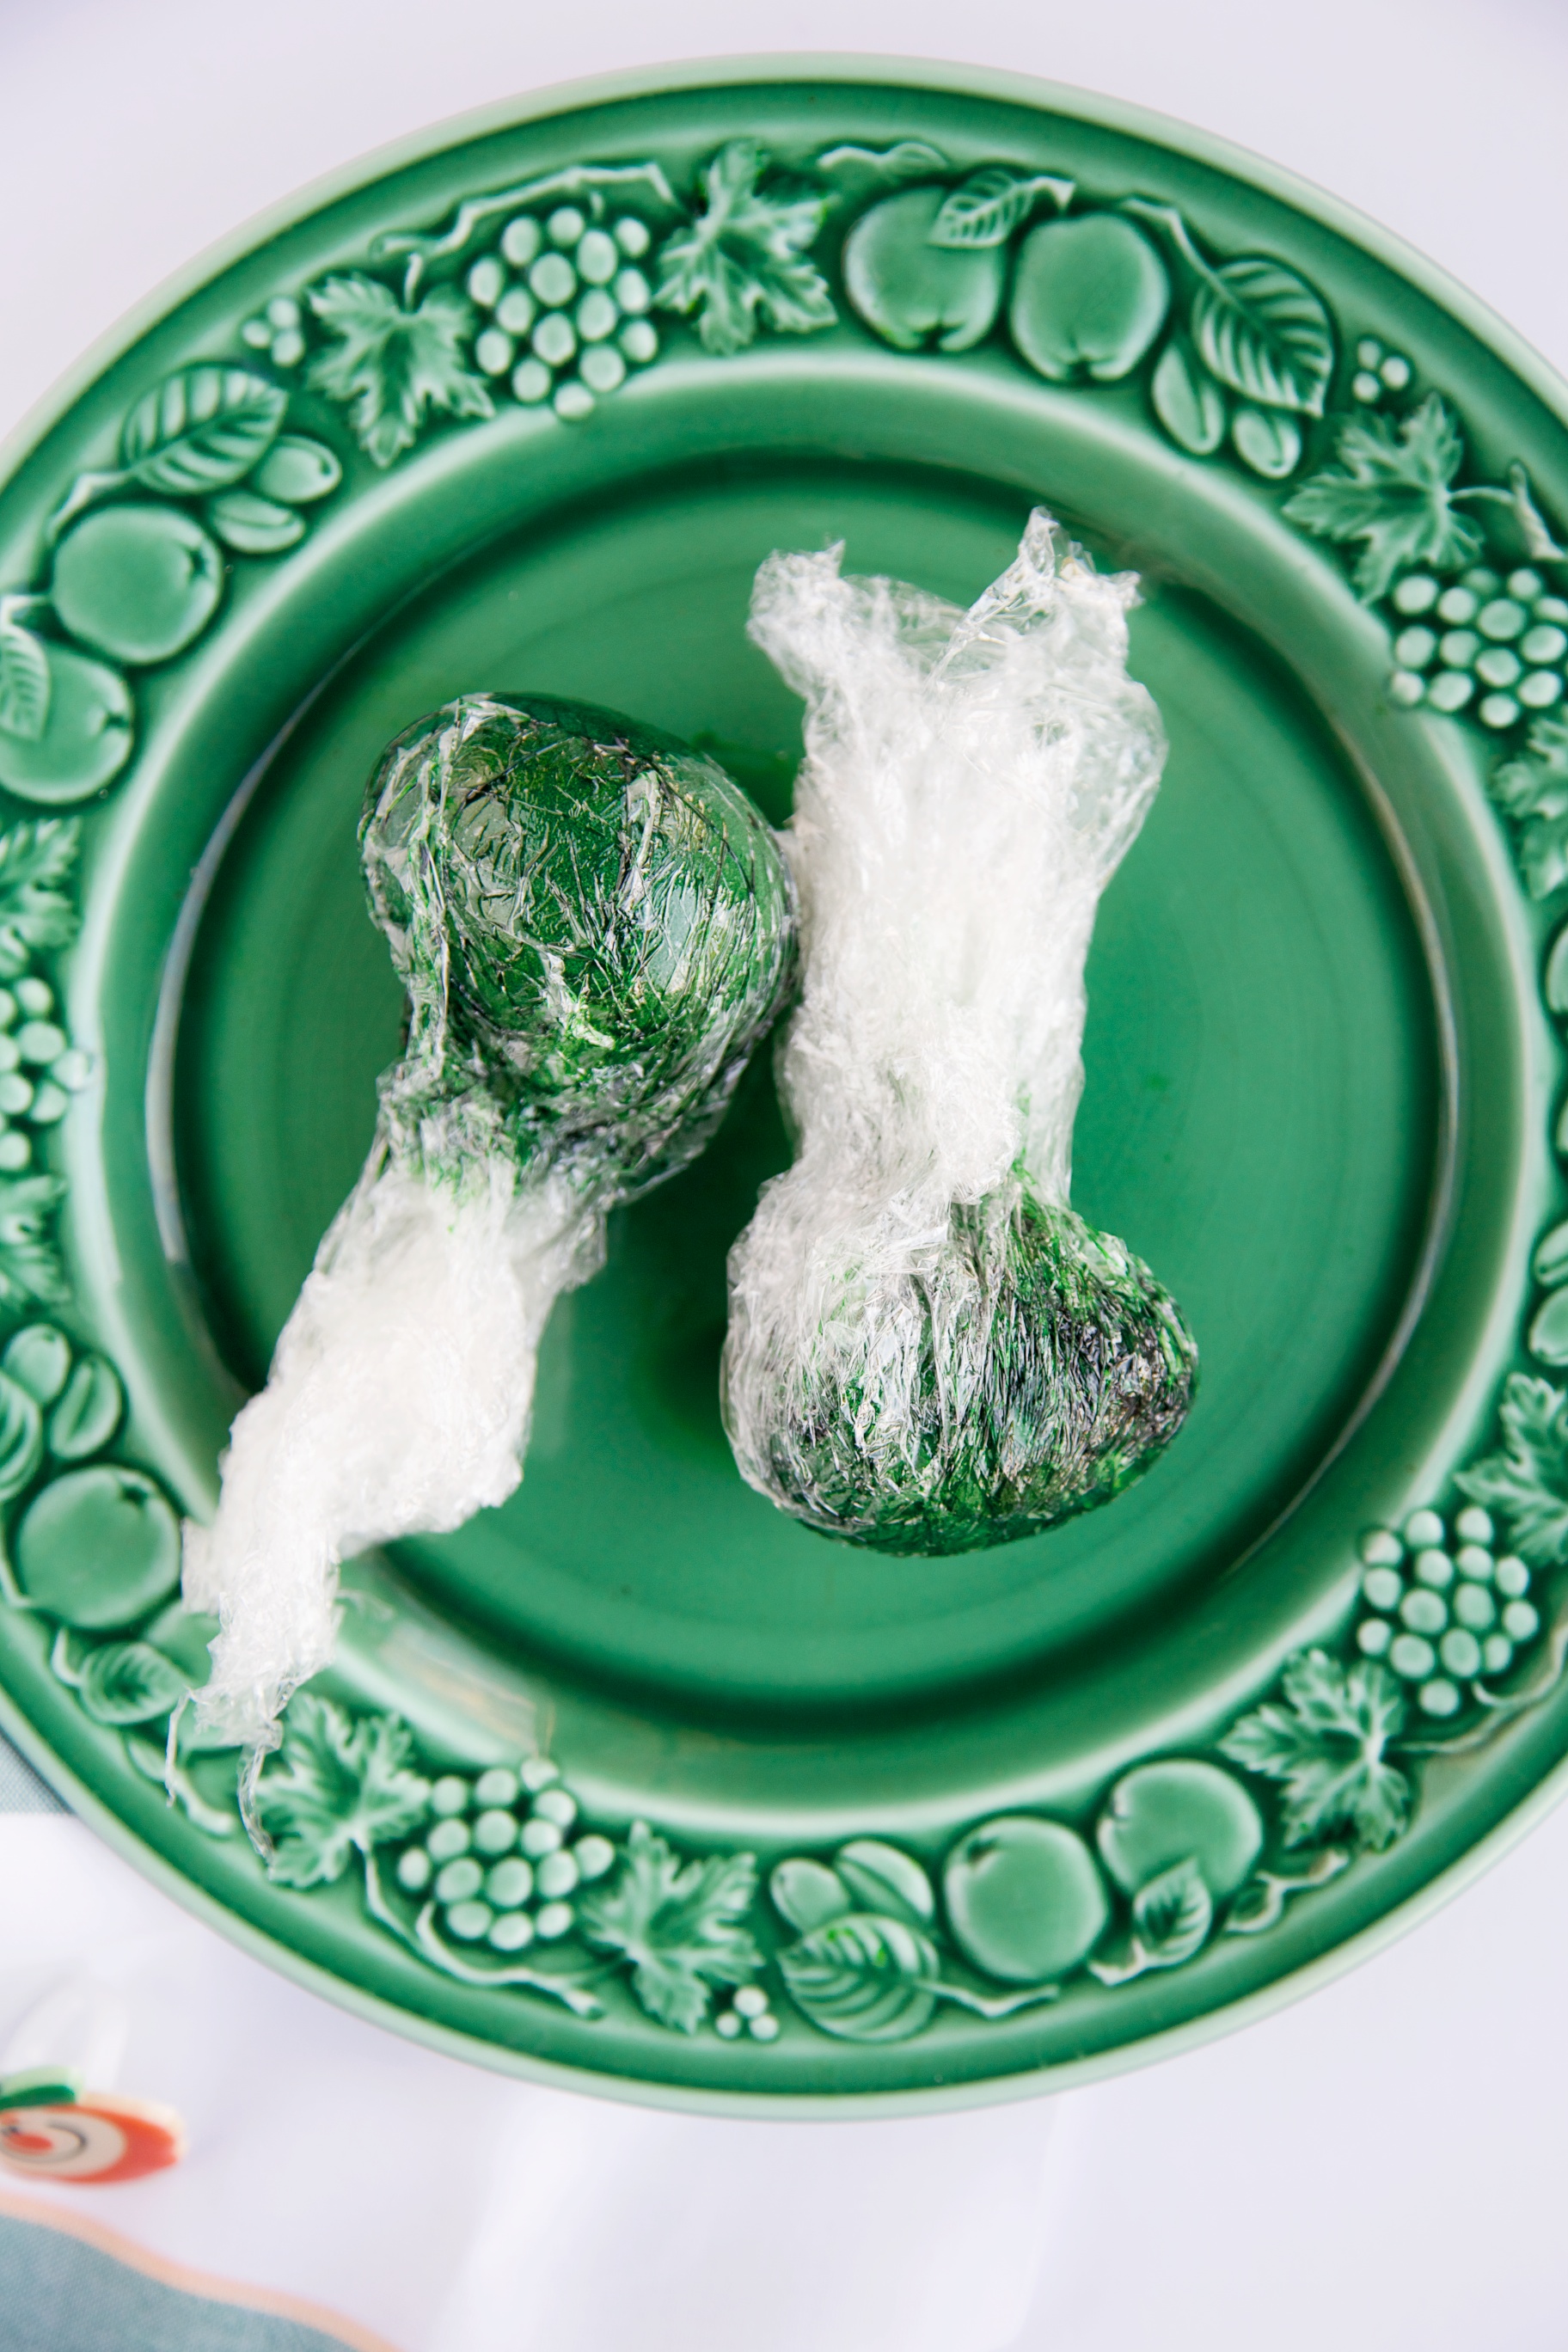
Step 5 • Lay your brushes on the edge of a plate or shallow dish. Do not stand them upright in a pot! Laying them at a slight angle pointing downwards encourages any left over water to flow down the brush head, rather than holding any excess in the brush hairs.

How to clean make up brushes

5 easy steps that take 5 minutes. Leave them to dry for at least half an hour before use.

How to clean make up brushes

My sister is coming to stay again next week so look out for another beauty post coming your way. 

Yay!

How to clean make up brushes
Life Lately Podcast • Episode 3 • Roller Coaster

Happy weekend everyone.

I am going to soak up every second of the next 24 hours as I am at a spa hotel for a friend’s hen weekend! Our itinerary includes an early afternoon tea, massage and spa, games and drinks, meals and dancing.

Now what on earth do you wear clubbing as a 30 something mother of two (apart from hold-you-in pants of course)?!

I recorded this podcast after a couple of wines and in my pyjamas so I do apologise for the waffle! This week's round up focusses on your questions!

But thank you for listening, it means the world.

Life lately has been a photo marathon on several photo shoots this week. Here’s a peek into my world.

feet in grass
Little Wedding Helper photo shoot
outtake.jpg
19 Alexandra Road
vinyl

I feel like I am on this tremendous photography roller coaster at the moment – every week brings exciting new opportunities and I have seen my images improve dramatically from this time last year.

I know my camera better, love the safety and comfort of the Av (Aperture priority) setting and spend less time editing to get the final money shot.

Later this week I am going to share some of my favourite actions I use to add a subtle enhancement to your photos. So if you are a photography fan, check back in.

This week, I am just as busy with work but we have a summer holiday to book and I have head shots to send off.

I am speaking at 4 blog conferences this year! As soon as all 4 organisers have added my blurb to their amazing line up (I keep asking myself how on earth am I in that list?!) I will let you know where! Eek! 

Linking up with Love All Blogs Better Photos Project

Marbled Eggs • St Patrick's Day Breakfast

Last year we made a special Bento Babies lunch in honour of St Patrick's Day, but this year we have tried something different. 

So simple but so effective!

I adore these crackled eggs.

Marbled Eggs

Easy to make and a guaranteed wow factor when you serve them. Try red versions for a Spiderman party ;)

Take an egg and boil it for 8-10 minutes. I use a handy plastic timer that shows you by colour when a hard boiled egg is done. Best £1 in the bargain home ware shop Proper Job I have ever spent.

How to boil an egg

When boiled, drain and leave to cool for 5 minutes, so that you can handle them without asbestos fingers. 

Take 3 large squares of cling film or a freezer bag would work just as well, I just ran out!

How to marble eggs

Drizzle a good measure of food colouring over your egg, about one teaspoons worth.

How to colour eggs

Wrap up your egg and colouring and gently roll it along the worktop, plate or chopping board. Tap ever so gently as you roll, to allow the egg shell to crack rather than break it completely.

How to dye eggs
How to marble eggs

Leave to stand for 30 minutes to allow the colouring to really take effect.

Unwrap, wash under cold water and peel.

Marbled eggs

And there you have it! A marbled egg to celebrate St Patrick's Day.

Warm it or serve cold.

St Patrick's Day Idea
Marbled eggs

This post was completely inspired by these cute 50p egg cups I spied in the charity shop window!

Other people's junk is my blog post inspiration :)

Linking up with the fabulous Me and My Shadow