
10 Tips for Blog Photography
The blogs I read everyday all feature imagery, be it illustration or photographs, that I find interesting and engaging.
You do not have to have a fancy camera to showcase beautiful photos on your blog. Anyone with a mobile phone, compact, instant as well as those with an SLR can create fantastic images as long as they are in focus.
There is so much you can do using free apps on your mobile or computer as well as premium applications and programs which may cost you a few pounds.
I always edit blog post photographs. Yes it takes time but it is worth it. I feel so proud of the lovely comments I receive for my photography and it inspires me to be more creative and invest that few extra minutes in making the photographs that compliment my post, a little sharper and little more vibrant.
Here are my top 10 tips:
1. FOCUS
Never post a really blurry image. Take it again.
2. LIGHT
Use natural light. You will be amazed at the difference. I wait now to take my photos in the morning as opposed to at night once the boys are in bed. Of course we don't always have the luxury of time on our sides and sometimes needs must. But I am always disappointed with the posts where I took the photos in the evening like this Moustache Photo Prop DIY. I wish I had been patient and waited until the next day to post it.
I loved all the Christmas tree photos during the festive period but so many had the flash on! By using your flash you lose the effect of the twinkly lights! Steady you hand on a table or chair to avoid camera shake and capture that perfect fairy light tree photo next year.
3. RED EYE
Red eye is just lazy! Edit those evil eyes out!
4. COMPOSITION
Think about your composition and use props. I used my crate, some seasonal pumpkins and an owl from my office in my Mini Broom DIY post, which tied the whole post together as it was for Halloween. (I even edited the name on the crate!)

Blog Photography
5. BACKDROPS
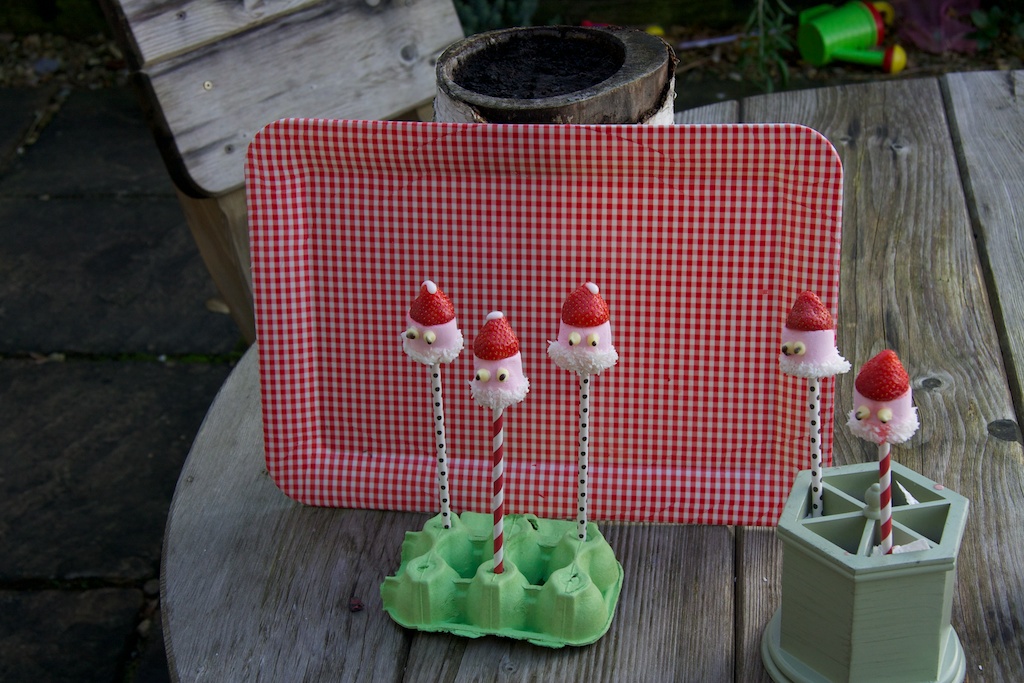
Use backdrops. My favourites to use are wall paper samples (pick up a 3ft sample in your local diy store for free), the wood floor in the lounge, the garden table outside (best for natural light too), my rose print apron, a scratched up old chopping board, scrapbook paper, the gravel in the garden path, grass and our white dining chairs.
Check out my behind the scenes photos - which one is your favourite backdrop?! I also love a cheap chalkboard and reuse it all the time for blog and personal pictures!

Blog Photography
6. EFFECTS
Let filters be your friends. Not just the 'vintage' effects. I love posting in black and white!
7. DETAIL
Remember the little details. What is obvious to you because you are in the room might not be to your reader. Focus in on the little details. Take 3 pictures of the same thing, try different angles and focus on different elements each time. This Rudolph Biscuit post showed the finished biscuit from different angles which I think readers would find helpful when copying them at home.

Blog Photography
8. TITLES
Remember to amend the photo title when you upload it to your blog. As a reader when you hover over a photo in a post it comes up with a text box with a title. The number of times I have seen "IMG 3542" or similar, instead of "A trip to the Zoo" or "DIY Craft" for example. You can also add descriptions and captions as well as tags for further search engine optimisation, but just a basic title is a great habit to get into if nothing else.
9. IMAGE SIZES
Image sizes. High resolution images take ages to load. Keep your images at blog-friendly pixel sizes. I resize mine to fit within 1024 pixels. They are still large though because I am all about the images!
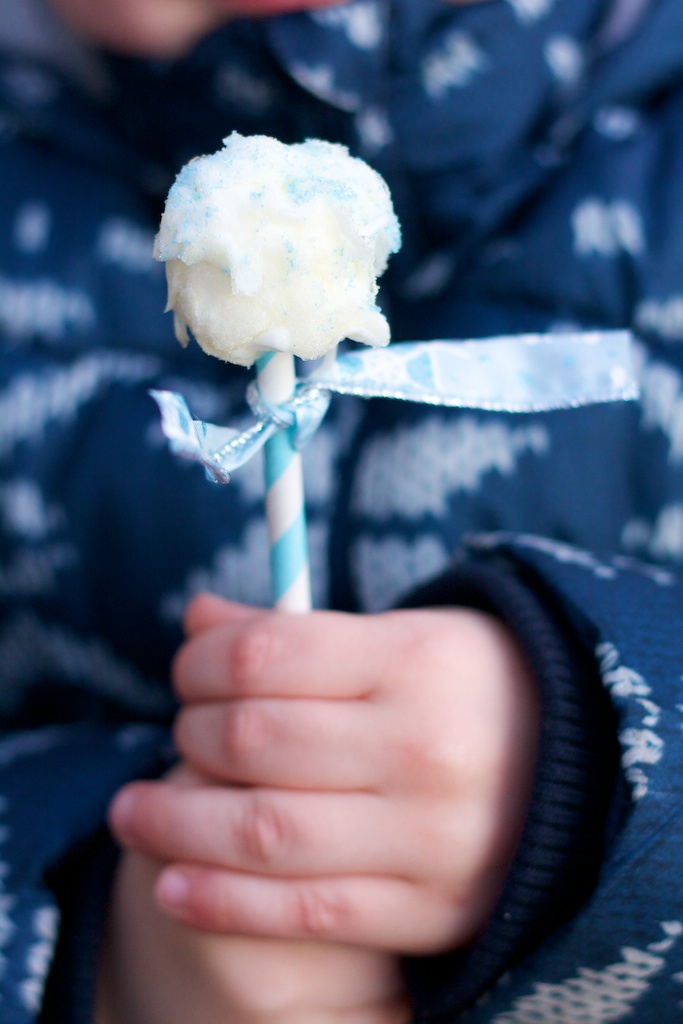
10. LITTLE ASSISTANTS
Get your little ones involved. If they don't want to pose and smile, no problem! I like to focus in on my boys hands so it doesn't matter if their face is like this!

Blog Photography
Blog Photography
Blog photography is a huge subject so I wanted to concentrate on one aspect in detail, which will hopefully help when photographing your posts.
Everyone loves a good tutorial, a step by step guide of how to create the latest crafty masterpiece.
Photographs are the best way to engage with your blog readers! Photographs let you share an idea easily using Pinterest (if you are not familiar with Pinterest it will change your life, click here for my guide to using it) and allow readers to see the process as opposed to just the finished article. Don't forget your titles as that is the label that pops up automatically in the Pin description.
- Remember to photograph all the materials you need. Label the photo with text if you have time and tell your readers where you can source the materials if it features something out of the ordinary.
- Photograph each step, no matter how obvious it is to you, and several of the finished piece.
- If you use a watermark make it subtle. I see lots of blogs where the watermark of the blog name is across the middle of the photo! Try a subtle smaller text box in the bottom corner.
- Leave a space in the frame for text in one of your photographs and give your tutorial a name which is easy to read and can be seen in a thumbnail if you upload the post to a linky. People are more likely to choose yours to read if you have a more engaging photo!
- Fill your frame occasionally. I used this photo in a post about alternative gift wrap, as well as other photographs of the entire present.

Blog Photography
- Play with angles. I love photos from above. I have a post coming up about different ways to display flowers as I love a bloom or two to bring the empty house to life again, after the Christmas decorations are put away. Here is one of the photos from that post. Far more interesting than a front on shot.

Blog Photography
Here are some of my behind the scenes photos!

Blog Photography
Perfect Glass Rims and cocktail ideas

Blog Photography

Blog Photography

Blog Photography

Blog Photography

Blog Photography

Blog Photography
Blog Photography
Tutorial posts rely on details so if your camera doesn't seem to want to let you focus in really close then crop it! I adore this photo of Ollie's smile. But it is a small part of a larger photo. The cropped version has so much more impact!

Blog Photography

Blog Photography
I am an Apple girl so I edit my photos on my MacBook Pro using Aperture (iPhoto is great too), Photoshop and other applications with filter effects including Camerabag 2, Analog and Pixlemator for adding text. I also use PicFrame to create collages. All of which you can download from the Mac App Store.
Photoshop is a pro package and expensive. You absolutely can create beautiful photos with free apps. You might need to play around for a while but once you find the one you love there will be no going back!
I never use Instagram on my iPhone. I prefer to use Afterglow, Vintique, Pixlr-o-Matic (available for Android users too), Photo Toaster Jr, Lomo Lens (for a lomography effect) and MoreNoel or Bokehful for bokeh effects (the lovely hearts, stars and light effects you apply over your images). Some are free and some I paid just under and just over £1 for.
If you have an Android phone try Lightbox, PicSay, HDR Camera by Amalence, Camera 360 or FXCamera, all of which are free.
For Windows users try PhotoScape, Serif PhotoPlus, Photo Pos Pro, Pixia and PhotoFiltre. All free and get good write ups. Please let me know of any others you would recommend too.
Just try it, take your photo, sharpen it a little, up the contrast, increase the saturation of the colours and boost the brightness a touch.
Last but not least never post a photo of your home address. If you receive a pretty parcel great, share a photo on your blog, Facebook or Twitter but blank out the details. More of a security tip than photography but an important one!
Happy snapping and thank you so much to Michelle at Mummy From the Heart. This post was originally published as part of the New Bloggers Fortnight on Friday 1st February 2013.